Showing posts with label Recycle. Show all posts
Sunday, 27 July 2014
Vintage squares.
A couple of weeks ago I answered and advert from a gentleman selling patchwork fabric that had belonged to his wife. When I actually got to see it , it was lots of cotton lawn blouses that she had made, they had got rather worn and faded, so she had put them aside to piece at some point. I chopped them all up with Burnice's help and discovered many beautiful prints.
I also became the proud owner of a 1900 Singer sewing machine that had belonged to hubbys mother and was sat in my loft. I thought it was an electric so when ai discovered it wasn't I whipped it off for a quick service so I could use it again. Look at this little beauty...
Just look at this amazing bobbin winder...
Anyway back to the quilt. I sorted the fabric a bit....remember the bird
First job was to cut all the fabric into 2.5" squares. I decided to use this red for all the cornerstones as there was lots of it.
I think it had been a skirt
All the other colours I joined into four patches
These were then sashed with 2.5" x 4.5" strips and so were the red squares
Then finally they were joined in alternating rows and a 2.5" white border added!
The colour isn't great. Remember that bird.....
And look at those corners....pretty good I think!
There is someone I know who I think might want this one. Sadly I love it so much that I'm afraid it's going to be a keeper!
Saturday, 12 April 2014
Recycle, re-use.....
Ooo it's the holidays and I have been busy, busy!! First off I have made a quilt! Yes another one. And the best thing of all is that it hasn't cost me a penny! It began with me buying this magazine;
It is a lovely mag, with lots of nice, modern scrappy quilts; right up my street. Inside was this one designed by Allison Harris.
Well I thought to myself, I rather like that so what do I have in my house to make it with? I know...a loft full of old jeans! The pattern called for 8" squares so I went and dug out 4 pairs of (large, bootleg) jeans. I cut them into said squares...
Next I raided my scraps for 48 different fabrics and cut out the circles....
Next they were machined on leaving a raw edge to fray with use!
Next they had to be cut into 4 pieces and mixed up.
Then I rejoined them back into circles, with each quarter now a different fabric.
Next arrange "in a pleasing manner" and join together, first in strips then all the rows.
Instead of making a quilt sandwich with wadding etc I decided to back this with fleece. This I had bought a while ago for another denim quilt and luckily it was big enough.
I decided just to quilt to the left and the right of each block seam.
Finally I bound it using leftover backing from another quilt.
There...all finished! I think this one will be for picnics! Can't wait 'til it starts to fray...
Friday, 7 June 2013
Part Two....
Now I will show you how I finished my quilt!

I chose to back it with fleece so lay it out on the table WRONG side up. Lay the denim RIGHT side up on top of it, making sure it is all square and straight. I found that the stretch denim could pull it out of shape a bit at this point so don't pull it about too much.
Now you really do need to tack. If you have quilt pins then use those but I tack; down the middle, at 90 degrees to that and then in stripes along the short side. It is tedious and hard on the fingers but is well worth it as it does slip about otherwise.
As my quilt had "raggy" seams I decided to finger press the seams apart and stitch right in the middle. This would allow the seams to continue to fray. It also meant that I wasn't accidentally catching down the pockets that I wanted open! If your quilt is flat then it is up to you where and how to quilt but I also think it looks nice if you stitch 1/4 inch to the left and right of each seam.
To finish it off you need to decide how to edge it. You may choose to bind it like a conventional quilt and there are many instructions on books and the 'net on how to do this. I chose to continue my "raggy" theme and leave it unbound. To form my edge I stitched a 1/4 inch in from the edge before trimming the fleece close. Hopefully the edge will go ragged to match the middle seams too.
I love the way the pockets can still be used..... To start the "ragging" process wash your quilt and tumble dry. The tumble drying will fluff up the fraying edges BUT keep an eye on the lint collecting bit as I think they can cause the dryer to overheat if they get too full. I check mine about every 1/2 hour or so. Don't worry if you don't have a tumble dryer, use will give you the same effect over time!
Thursday, 6 June 2013
A recycled quilt....
If you have been a reader for a while, you will know that I like to make quilts from old jeans. I made one for Jess from all the baby denim and then one for Eliza and lastly one from old camo trousers for my son. Katy, as ever, is the picky one and wanted a black one so it has taken a while to save up enough in the correct colour. So here is my step-by-step;

Collect a variety of old, clean jeans or other denim items. It is hard to be exact about quantities because it depends rather on the size if them! But as a rough guide, I can get 20 squares out of an adult pair. That is not a skinny pair and the squares are 6 1/2 inch.
Decide which leg seam you want to have in your square. By that I mean the inside leg double stitched one or the outside leg, plainer one. Then cut up the leg to about level with the crutch and lay the leg out flat. Don't cut all the way up because you will need to have a bit of room to fit in squares around the hip part. Then trim the bottom edge so that it is straight...
Work your way up the leg, cutting 6 1/2 inch squares. I was getting two across each of these legs. As you near the top you will need to re-straighten the leg.
When you reach the top, use a square patchwork guide to work out the best way to preserve the decorative parts like pockets and trimmings. Cut through all the layers and I find a rotary cutter is really the best way to go.
Then tack your cut pockets to give support until you assemble the squares. At this point I like to sort my squares into three piles; plain, seamed and fancy so that I get an idea of the ratios I need. Keep cutting in this way until you have enough for your chosen size. If you have tons of plain ones now would be the time to add some decoration to them in the way of buttons, ribbons, applique etc. Press them.
Next step is to lay them out in a "pleasing fashion". This can be mathematical, random or however you like but I find that it helps to take a black and white pic as it shows the contrasts more clearly and enables me to see any areas that are too dark/light.
Now it is a question of joining them all together; first across the row then join each row to the one below. Before you start to stitch just 2 things to do;
1. choose if you want your seams "in" to give the usual smooth finish, or "out" which will give a lovely ragged finish as the quilt washes and wears
2. FIT A DENIM NEEDLE! If there is just one thing you must do, it is this. I broke two needles on the first denim quilt I made and it doesn't do the motor much good either.
Now sew!
1. choose if you want your seams "in" to give the usual smooth finish, or "out" which will give a lovely ragged finish as the quilt washes and wears
2. FIT A DENIM NEEDLE! If there is just one thing you must do, it is this. I broke two needles on the first denim quilt I made and it doesn't do the motor much good either.
Now sew!
Thursday, 11 April 2013
A tale of a tea pot...
Have you ever started one of those projects that you think will only take an hour or two but actually ends up taking a whole day? Well let me tell you the tale of just one of those projects...
We drink lots of tea in our house and we have always had a LARGE teapot.

The current one is a lovely red, to match my kitchen, but we have never, ever been able to find a tea-cosy big enough, so made do with an old tea towel wrapped around it. So I decided to make my own pattern and run one up in a couple of hours.
We drink lots of tea in our house and we have always had a LARGE teapot.
The current one is a lovely red, to match my kitchen, but we have never, ever been able to find a tea-cosy big enough, so made do with an old tea towel wrapped around it. So I decided to make my own pattern and run one up in a couple of hours.
I started by cutting up lots of red, brown and cream fabric and then joining it together to make a piece big enough to cut out the two sides.
I had to re-jiggle it a bit as I decided to make an opening for the handle and spout because it was rather and odd shape. Once I had made the lining and tested it on the pot I cut out the wadding, again from my scrap drawer.
Next came my first favourite bit; bobble trim! Gotta love the bobbles as I pinned them around the edge!
I machined it all together and then put the lining in. Then I came across a problem; it wouldn't turn round the correct way because of the spout and handle spaces I had left so there was now a bit of unpicking needed.
Now I could turn it through! Quick bit of re-stitching and then I was able to re-join the bottom edges by hand.
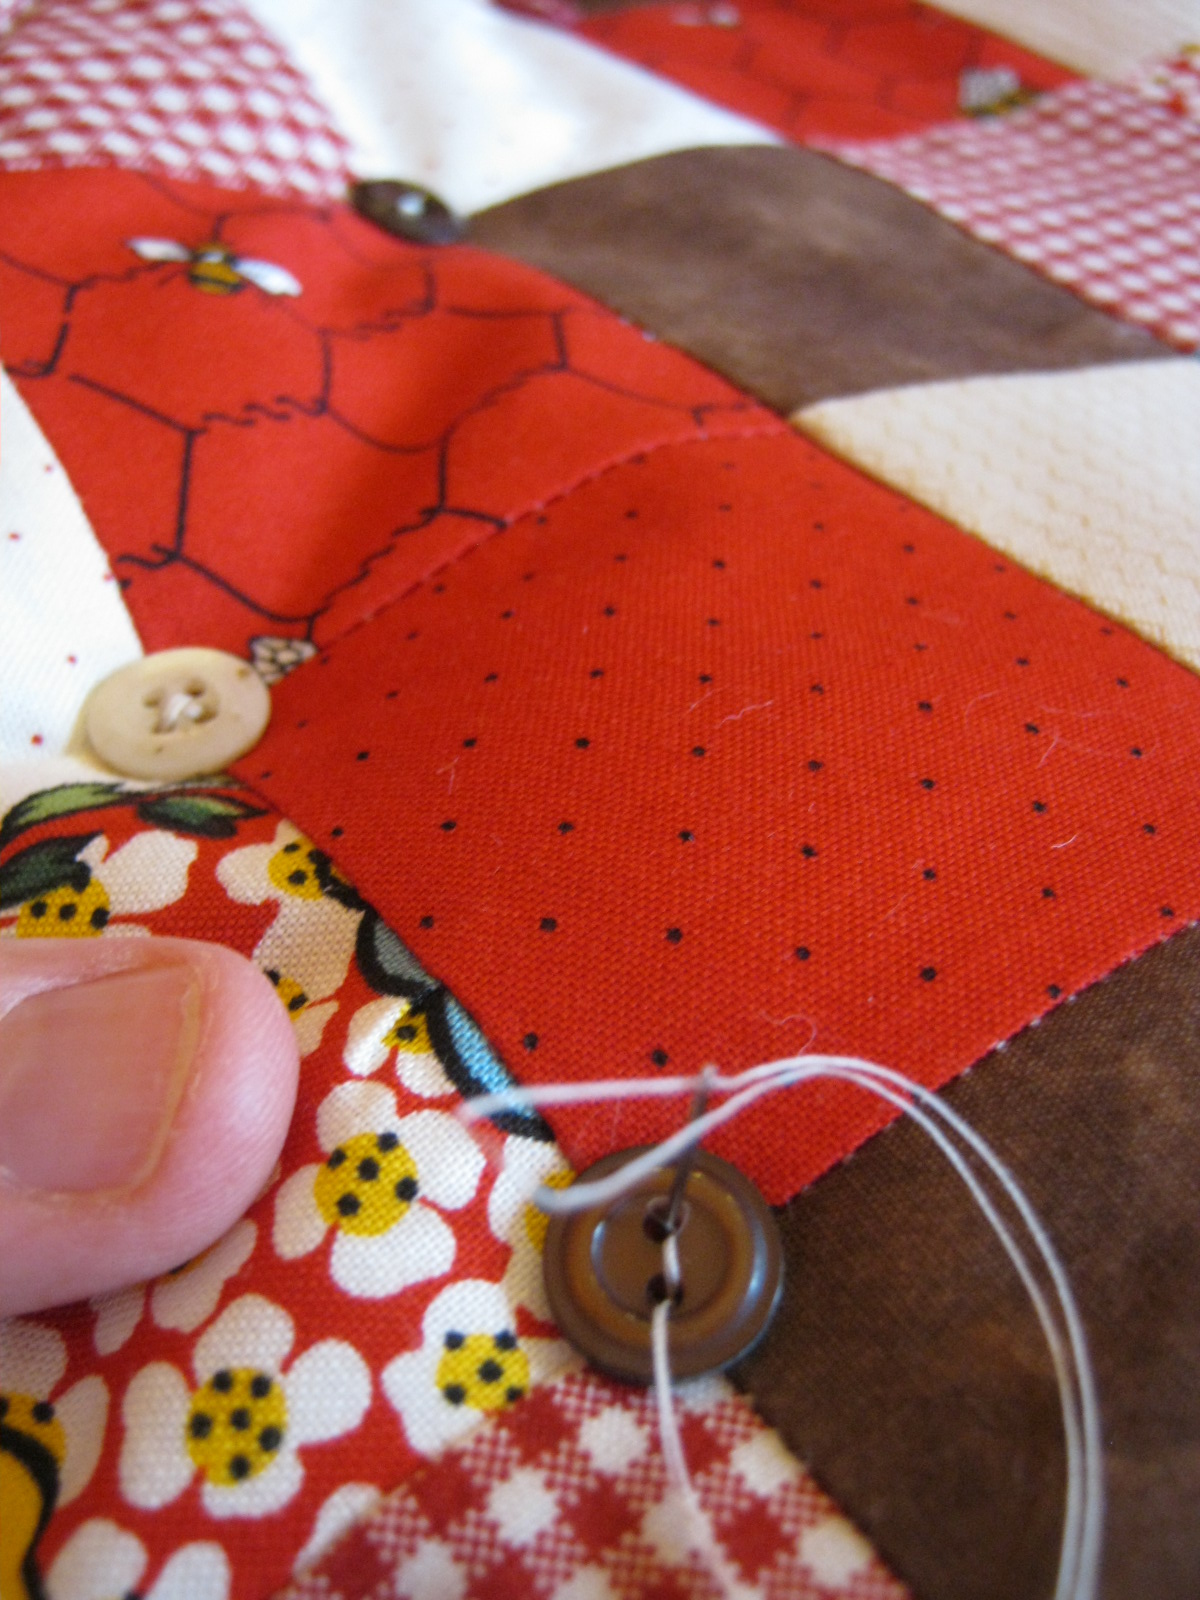
It was looking pretty good but some quilting was needed. Out came the trusty button jars, full of all my delicious vintage and modern, plastic and mother of pearl buttons. It needed lots before finally....
Ta Dah....
Sunday, 10 February 2013
Blooming Flower cushion
Another "make" that was inspired by this and I followed the tutorial.

Once I sorted out all my DK wool I found that I have a surplus of cream and white. I envisaged my version of this starting with an intense orange and fading to white on the outside rim, much like a narcissus...
Then I joined the two halves together by slip stitching and stuffed them. There was a small hole in the centre where I had formed the foundation ring so I popped a button in it and pulled it to give the cushion some shape.
Subscribe to:
Posts (Atom)