Showing posts with label Patchwork. Show all posts

Sunday, 2 March 2014

Loveliness.....

You know I said I was creating something.......well I ran out of fabric but I will show you so far.....
First you have to admire in close, close detail the lovely pansy fabric! Stroke it, smell it, fold and unfold it and then spend ages thinking of the best way to show it off! Linda and I trawled through books and magazines before I decided upon the first one I had seen! It came from this book;
It was just a picture, no pattern, so I had to think about exactly how it was going to come together.
First of all I cut the pretty fabric into 6.5" squares.
Then I trimmed the edges to make them wonky....much to Eliza's horror!
Then I joined them to a 3" strip. This was my first calculation error. I had forgotten that my borders actually only needed to have a finished measurement of 1" and that my final squares wanted to be 8.5" (before joining) so I had drastically cut my strips too wide!
Then I trimmed them off their strip and repeated on the other side. This time I used a narrower strip as I had discovered my error!
All this shilly-shallying about meant I now didn't have enough green fabric to finish all the edges so I only managed to complete 9 squares AND despite careful trimming as I went, they have ended up 8" square before sewing together.
Well you get the idea. Now I need to buy more green to finish it off. Hmmmm need to plan more carefully next time as I ended up wasting quite a bit of trimmings. Or use a pattern!

Thursday, 27 February 2014

Patchwork Cushion

I am sure you know that it was Half Term last week...well that means I get days off in the week so on the Friday I went to Linda's. We both have several of those little patchwork 2 1/2" squares and didn't know what to do with them but Linda had found a pattern for a cushion.It was meant to be 5 squares by 7 squares with no border down the sides so that it resembled a photo contact sheet. However, I decided that I would take the idea and fit it to my own cushion. I chose to go with 5x5 squares.
I will confess that I did just bang it all together, with little regard to squaring it all up. I even made the classic error of stitching each row to the one above, in the same direction. The result of my slapdash-ness? Well it was dead wonky! I couldn't really be bothered to undo it all but after looking at it for a bit I decided that I just would not be able to quilt it so I did unpick the worst row and jiggle it so it was a bit straighter!
A quick whizz up and down (in alternate directions this time!)with a fabby pink thread, and the front was done. Just need to add the back and pop it on a cushion now.

Thursday, 11 April 2013

A tale of a tea pot...

Have you ever started one of those projects that you think will only take an hour or two but actually ends up taking a whole day? Well let me tell you the tale of just one of those projects...
We drink lots of tea in our house and we have always had a LARGE teapot.

The current one is a lovely red, to match my kitchen, but we have never, ever been able to find a tea-cosy big enough, so made do with an old tea towel wrapped around it. So I decided to make my own pattern and run one up in a couple of hours.

I started by cutting up lots of red, brown and cream fabric and then joining it together to make a piece big enough to cut out the two sides.

I had to re-jiggle it a bit as I decided to make an opening for the handle and spout because it was rather and odd shape. Once I had made the lining and tested it on the pot I cut out the wadding, again from my scrap drawer.

Next came my first favourite bit; bobble trim! Gotta love the bobbles as I pinned them around the edge!

I machined it all together and then put the lining in. Then I came across a problem; it wouldn't turn round the correct way because of the spout and handle spaces I had left so there was now a bit of unpicking needed.

Now I could turn it through! Quick bit of re-stitching and then I was able to re-join the bottom edges by hand.

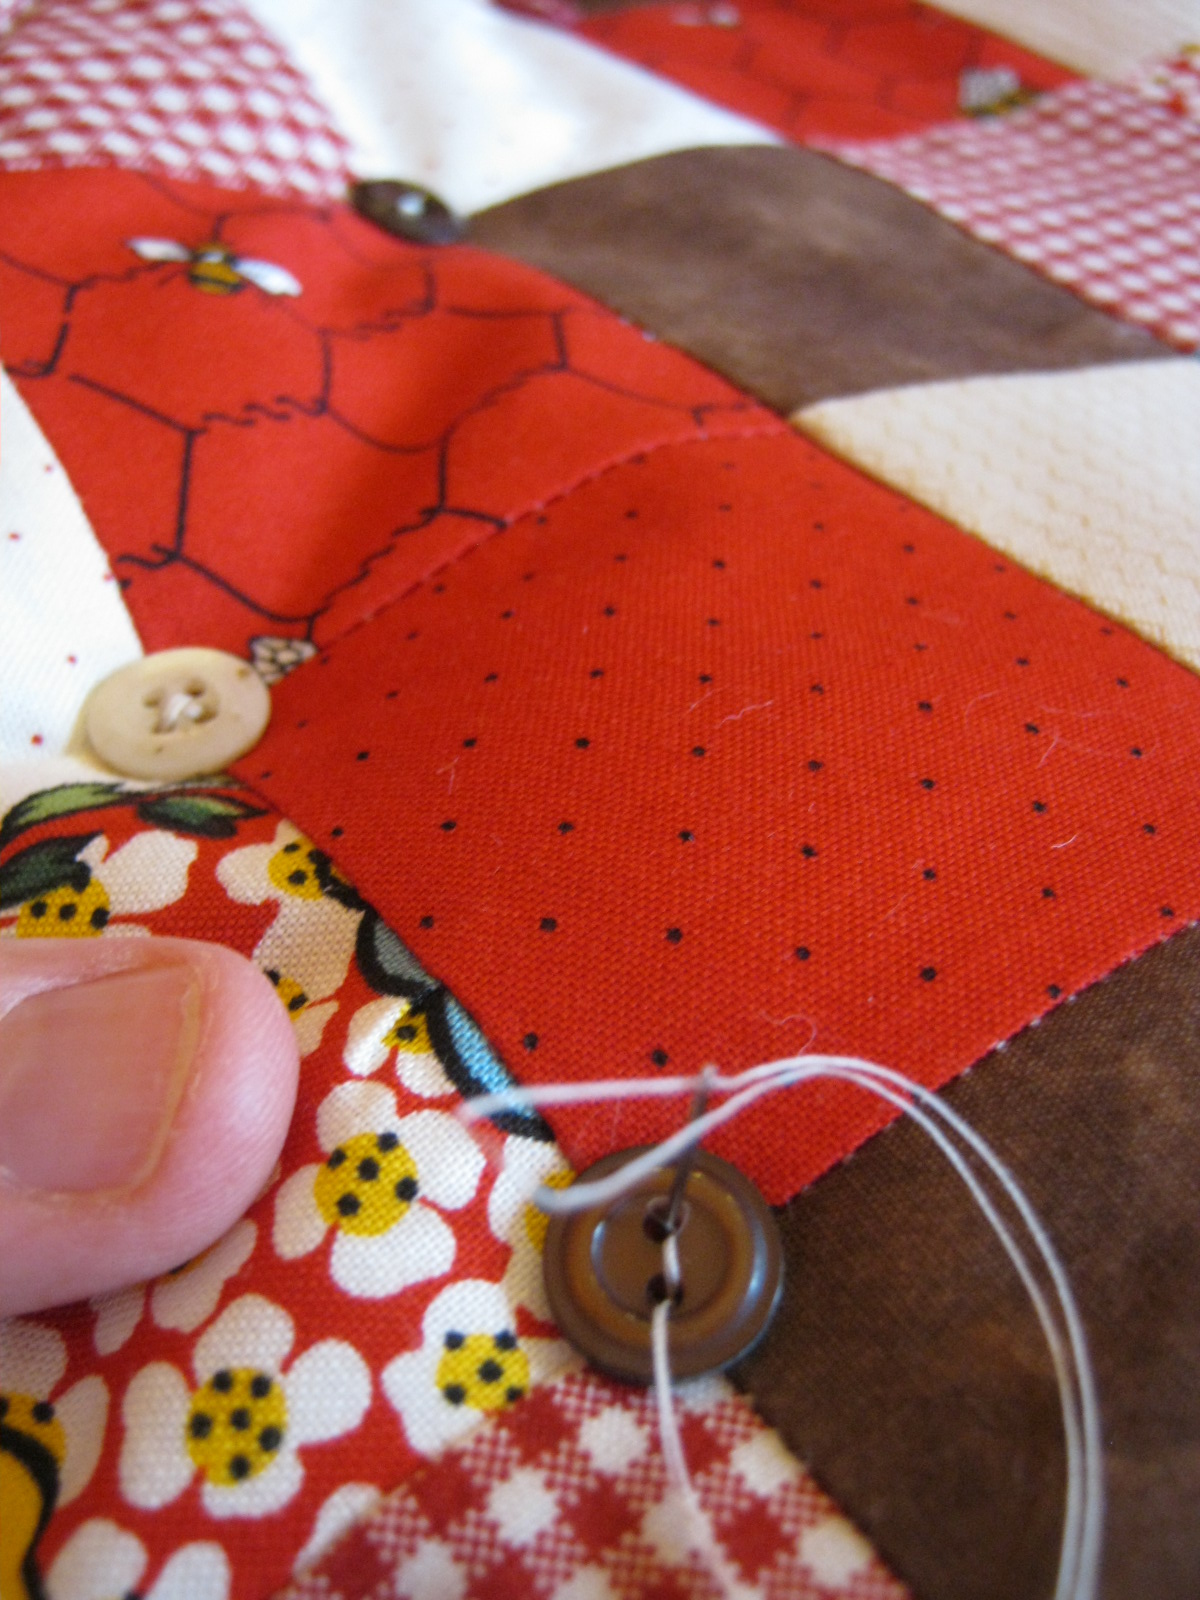
It was looking pretty good but some quilting was needed. Out came the trusty button jars, full of all my delicious vintage and modern, plastic and mother of pearl buttons. It needed lots before finally....
Ta  Dah....

...finally my huge pot has a super smart cosy!
Would you like a different view?

Look at the perky little spout emerging from the bobbles!

And just lovely vintage buttoness close-up. Mmmmm!
All made from scraps I had and my only spend was £1.29 on the bobbles.
But my two hour project has taken me a whole day!
Posted by Picasa

Wednesday, 10 April 2013

"Posh" Quilt...

Now for the second instalment of yesterday's industry; the "posh" quilt. Linda had some gorgeous bright fat quarters that she cut up according to a pattern she had called "yellow brick road".

I wasn't involved in this quilt so I didn't quite work out how it all went!! Somehow the strips went into blocks...

..all stitched by Linda on her brand new shiny machine!

Burnice once again was doing stirling work with the iron. She does love to iron!

And another Ta-dah.....for this super bright quilt that we are going to give to the hospice to raffle.

We want to add sashing before we back, quilt and bind it. I think black sashing would look good but we are a bit unsure if that might not be appropriate? Should we go with purple instead?
Posted by Picasa

Tuesday, 9 April 2013

Quilting Day

I had a completely self indulgent day today. I wasn't eating chocolate but the next best thing.....a whole day just sewing at Linda's house. A little while ago Burnice, Linda and I decided we wanted to make a quilt for a local charity. Burnice approached a local children's hospice and so our project began. We decided to make 2 quilts; one completely scrappy and another, better one, to raffle.
I will tell you about the scrappy one first....

We collected lots of our scraps together and sorted them into "white-based" colours that Burn cut into 2 1/2" squares which she then stitched into pairs. My job today was to sew them all together into blocks of 4...

...then to join 4 small squares into larger squares. I sat and sewed and Burn ironed like mad until finally we joined all the squares into strips and then the strips into the top. Meanwhile Linda was working on our "posh" quilt and providing refreshments! 

I did all the stitching by eye, no trimming and most of it is square.....enough! And we only got two squares the same next to each other once.
Ta dah!!

One quilt top, entirely made from a random assortment of our scraps ready for a fleece backing and a royal blue binding. I love the way it turned out and it has re-ignited my desire to patchwork.
Pop back tomorrow to see our "posh" quilt take shape....
Posted by Picasa

Wednesday, 23 January 2013

Pot holder.

This is my potholder....

....I keep burning it in my gas cooker so I keep thinking it is about time I had a new one but as usual never get round to it. Well as we had another snow day I FINALLY got my bum in gear.

My motto for the year is "Re-use, Recycle" so I went to my stash of trousers in the loft and found some brown cords and some children's trousers with this flower pabel. Whizzed it all together with a plain brown back and quilted it with red thread. Finally the binding is some ribbon that came round a fleece blanket I bought from Primark! New pot holder for nothing and my first recycled project!
Posted by Picasa

Thursday, 18 October 2012

Finished quilt!

As I continue to show you my gradually finishing items, I am thinking it's a good thing I finished them off as my boiler has packed up! So no heating; luckily I can snuggle under several layers. So here is the finished quilt I made for our bed. Doesn't go with the current pink colour scheme so I think I will need to re-decorate....
 

Saturday, 14 April 2012

Another cushion.

A few weeks ago now I started another Union Jack cushion for a friends birthday. I did two sections but I think I must have been still feeling the after effects of the anaesthetic because I just found it sooooo difficult to work out the paper piecing and put it all away!

I thought that I really had better finish it off seeing as her birthday was in March! Once again I forgot to leave a seam allowance on the four quarters so I had to stitch them to the centre panels with the teeniest seam allowance ever! Maybe if I do a third one I'll actually get it completely right!
Posted by Picasa

Tuesday, 18 October 2011

Patchwork knitted throw

Hmmm well it looks a bit ropey now, but this is what I have been doing over the last few weeks. It is meant to be knitted in very chunky wool but being a meanie I used 2 strands of double knit together and used up some of my stash of wool. The hexagons are in 4 different designs and for some reason the very bobbly ones just didn't come out very hexagonal! Still they went together ok and I think that has pulled them into shape a bit more.


Now I need to crochet an edge.....LINDA!!!! or HELLY!!!! help please! I think that will help hold the shape too. And I have some more ends to sew in but it took me a whole day to sew together so I was bit bored of ends by the time I had joined all the hexagons! Looks a bit of a funny selection of colours in the photo....tis better in real life, honest!

Posted by Picasa

Sunday, 28 August 2011

Quilt part two.

So the next part was to lay out my squares in alternate darks and lights in a pleasing manner then stitch the rows together. Here I have done the top two rows already.

As I was cutting up all my squares I found I was chopping up hens and wheelbarrows with gay abandon! Then after the shuffling process and as I began to re-stitch them I discovered that this hen had joined itself up again, despite being on two completely different fabrics! Well, this square just had to be the central one didn't it?


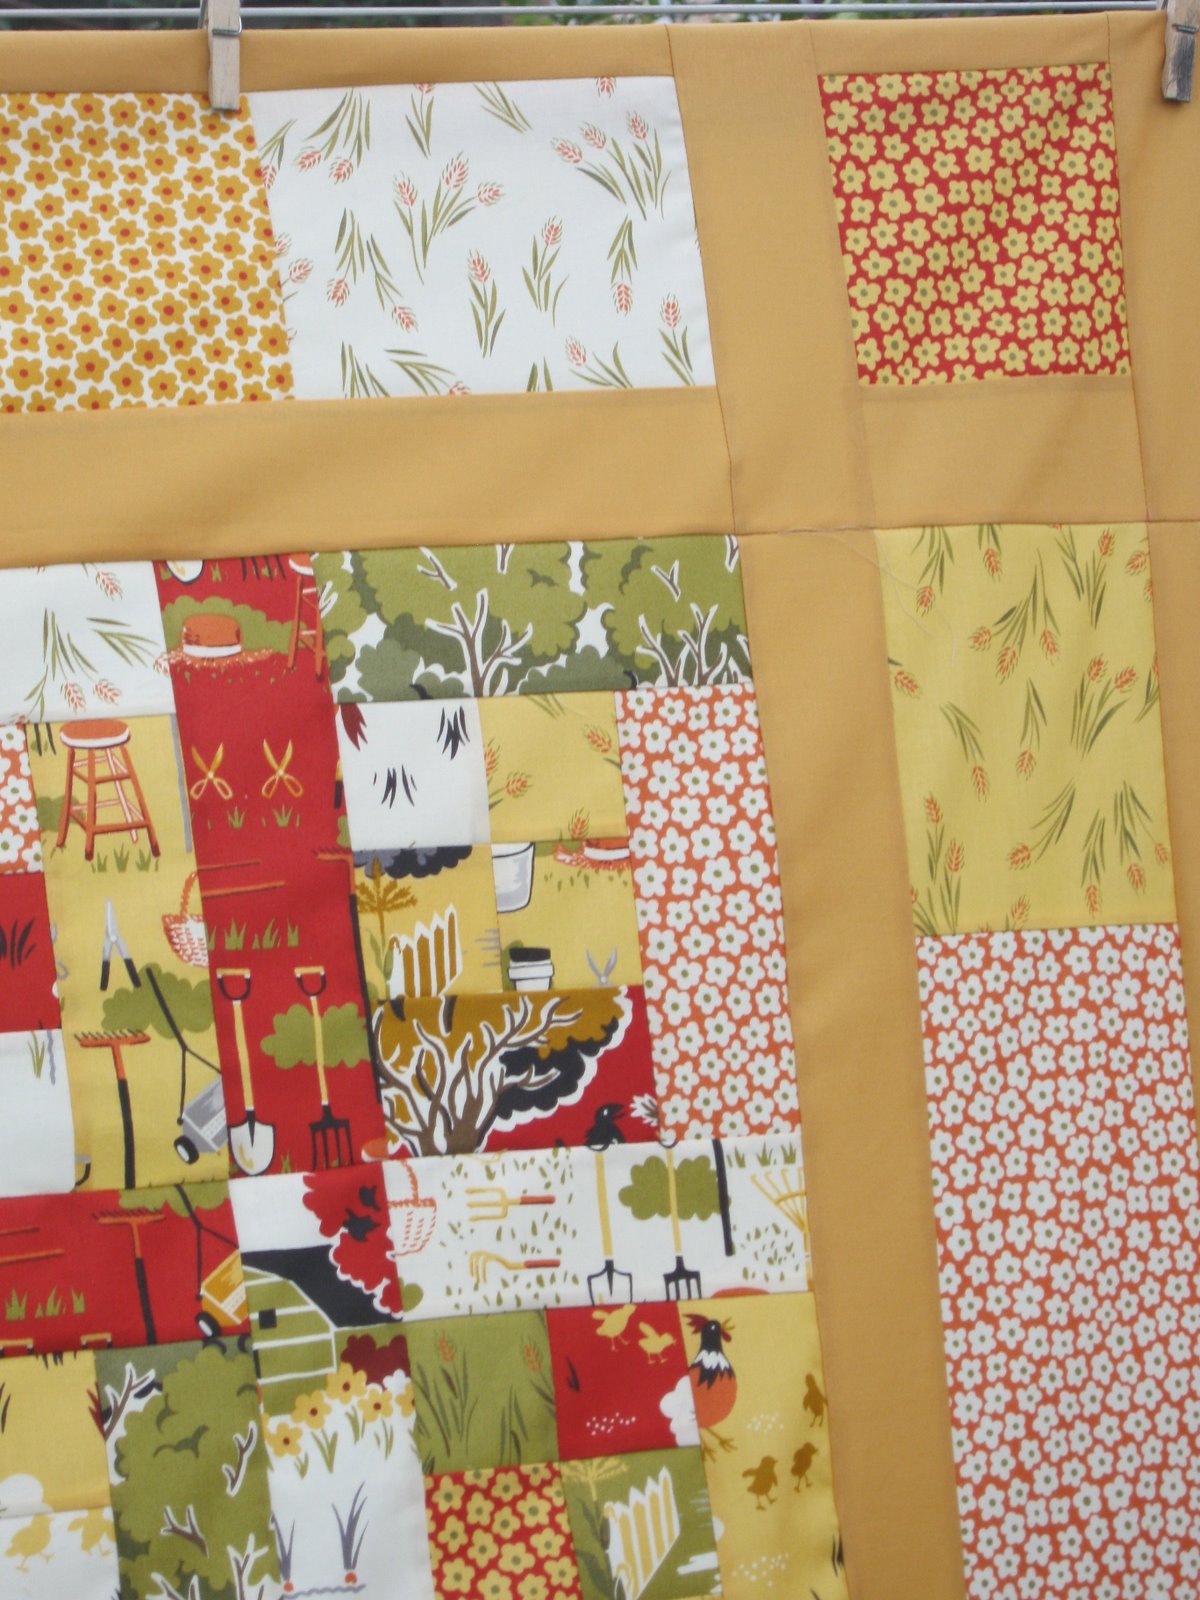
And finally after a second day of stitching, I finished the top, complete with sashing. I had to concentrate hard to cut the border fabrics the correct way so the pattern all went round the right way!


And I was rather impressed with my beautifully lined up corners on my sashing, if I do say so myself! Not bad for a beginner!


Now I have to back and bind it. I bought some binding fabric but I don't like the colour so a re-think is needed...

Posted by Picasa