
I showed you a picture last week of the apples/crabapples that we scrumped from the bypass didn't I? Well here's what we did with them.

First cut them in half and put them in a large pan and cover with water.

First cut them in half and put them in a large pan and cover with water.

Bring to the boil and simmer until soft and pulpy.

Put into a muslin and strain all the juice off. Now all the recipe books say that if you want your jelly to stay clear then don't squeeze the muslin. Well firstly you need asbestos fingers to squeeze it anyway but secondly I don't like to waste any drops, so I always squeeze as much out as I can!

Measure how many pints of liquid you have and pour into a large pan...I use a stock pot.

Then add sugar in the ratio of 1lb of sugar per 1 pint of liquid. I collected 8 pints of liquid. so I needed 8lbs of sugar. That is the only maths you will need!

Stir it as you bring it gently to the boil to allow the sugar to dissolve. It will look rather cloudy at this stage.

Once the sugar has dissolved allow it to come to what the books call a full "rolling boil". I think that is fairly descriptive; it has to boil quite vigorously rather than a simmer. As you can see, scum tends to form around the edges and it is best to scoop this off using a spoon, (or if you are posh I think there is such a thing as a jam skimmer you can buy!). Watch it doesn't boil too hard or it can spit/burn. This stage takes quite a while; you are boiling it until you get a "set". To test for this, put a china plate in the fridge. Add a few drips of the jelly to the plate and leave it for a minute or two. Then push at the surface with a finger and if it wrinkles up and forms a kind of "skin" then it is ready! I find that the colour will deepen significantly as it gets more "jelly" like and it is never really ready the first few times. Once it starts to set it can go quite quickly so keep an eye on it.

Whilst all this is doing it's thing, you need to sterilise the jars you are going to use. I put them in a warm oven, about 150 deg, for about an hour. I also tend to do more than I need as you can't really tell how many jars it will make! This is really important as the jars need to be hot to receive the boiling jam so they don't shatter. Transferring the jam to the jars is quite a risky business; I use a ladle and pour just one jar at a time. Don't get it on you as it WILL burn.

Fill the jars really full as it will shrink a bit. There are a few ideas about what is the best way to proceed now. Some people swear that you need to heat the lids and put them on the hot jars in order to keep it sealed and sterile. However, if you have ever tried to hold a hot jar of runny, boiling liquid in one hand and screw on a hot, metal lid with the other, whilst wearing oven gloves then you will see why I prefer to leave everything until it is completely cold! It does need to be cold and not any degree of warm, or condensation will form on the lid and this is what will turn the jam mouldy.

Then the worst job; washing down the super, sticky jars! See, despite all my squeezing, my jelly is really clear; and I love the colour too.
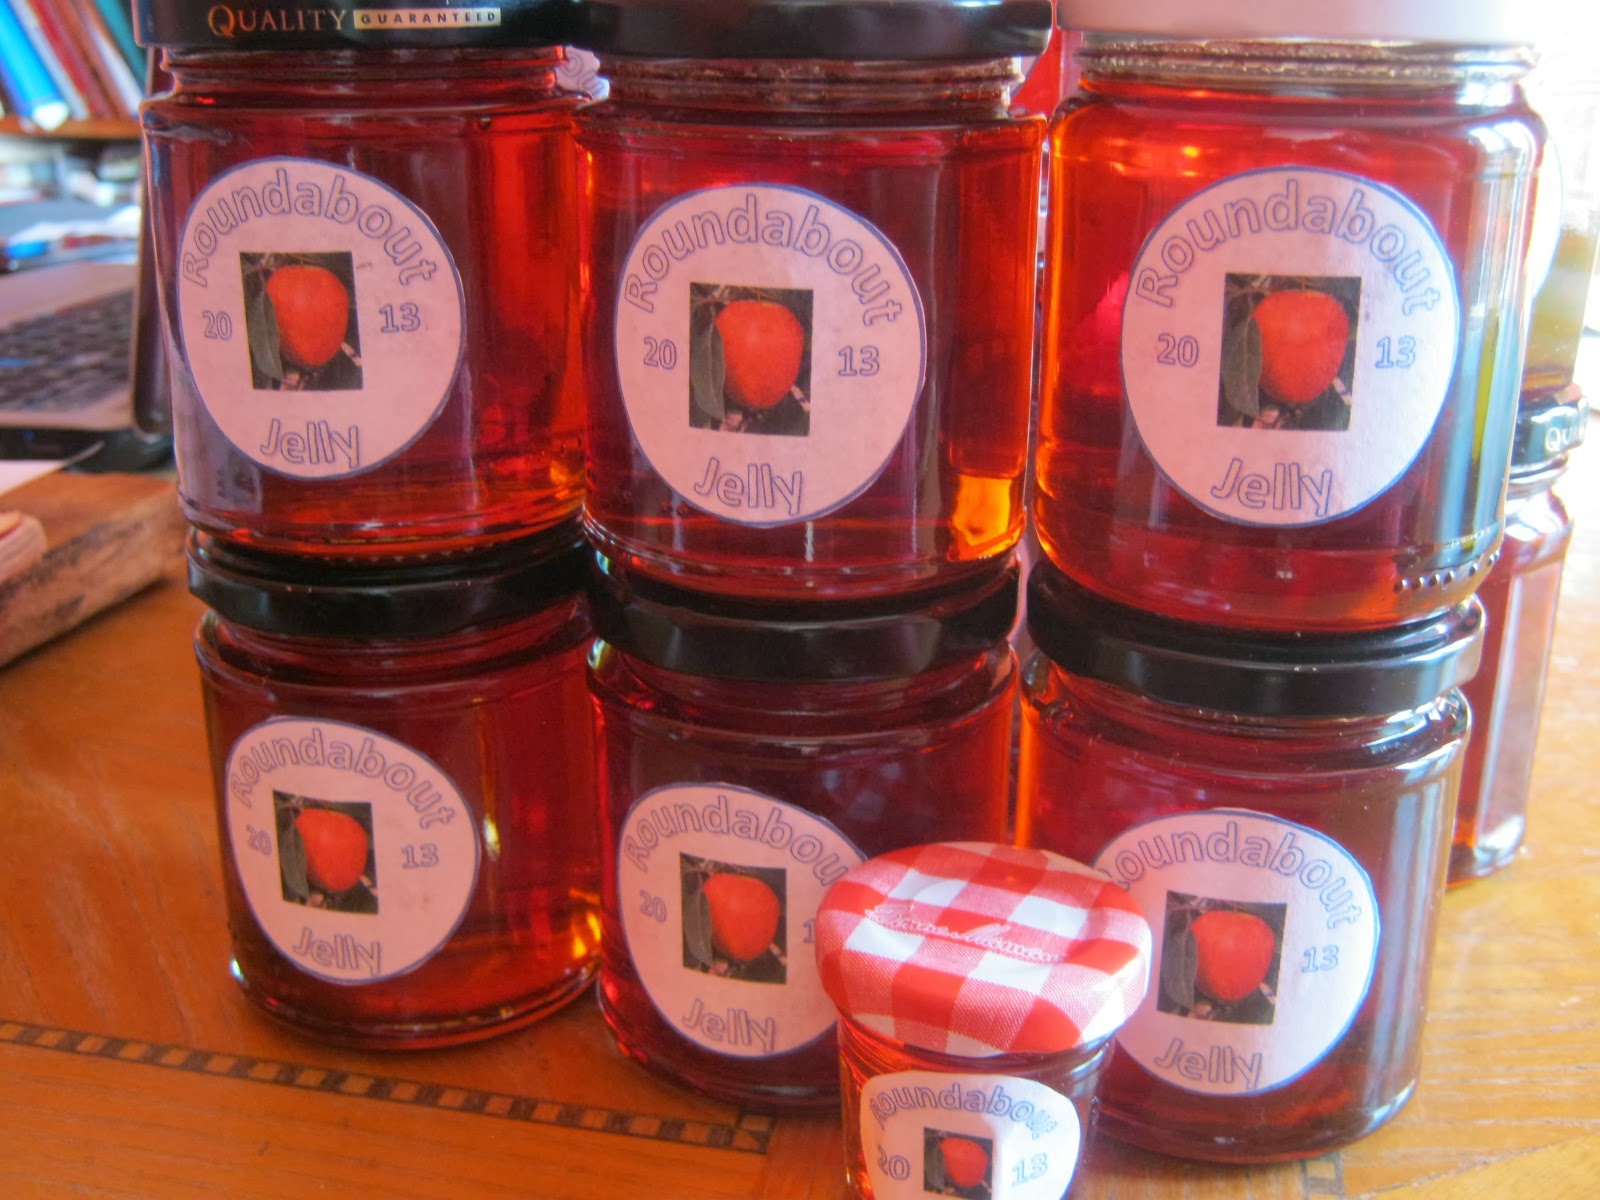
Finally you get to design a label. Eliza likes to do this job and this is called Roundabout Jelly because we got the crabapples from.....you guessed it...the roundabout!!! My 8 pints made 19 jars of jelly....and the teeny one!


